SceneCreator
TUTORIAL
by mikmoth
This will be a straight-forward tutorial on how I make scenes for KARI the Virtual Girlfriend. Tools you will need: Poser, KARI's SceneCreator.
STEPS we will be following:
1. Setting up your Poser figure and saving out your images.
2. Putting is all together inside the SceneCreator.
The 7 Frame Setup
The Scene Creator was created around the 7 Frame Setup. Some scenes have many more frames but the 7 Frame Setup is at the core of how new scenes are made. So what is the 7 Frame Setup? They are 7 frames (or pictures) that have alll the information for a basic Kari scene. Making new scenes is easy with the 7 Frame Setup.
Basically, in these 7 pictures we have all the information we need to make Kari blink and speak. Frame 1-4 has Kari blinking her eyes. At the same time frames 1-7 also have Kari's mouth movements so she can talk and move her mouth.
Lets get started!
STEP 1 - POSER
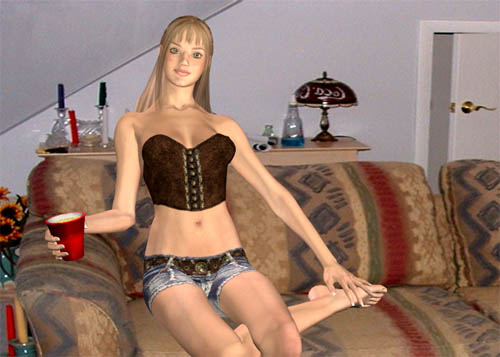
Load up Poser. Load in your figure. For this tutorial I will be using a Victoria 4 model but you can use any model you want. This is a scene called PartyGirl you have seen on the forum.
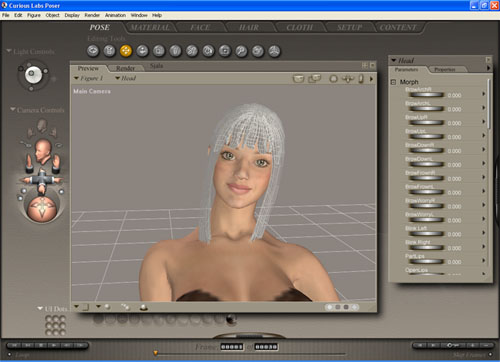
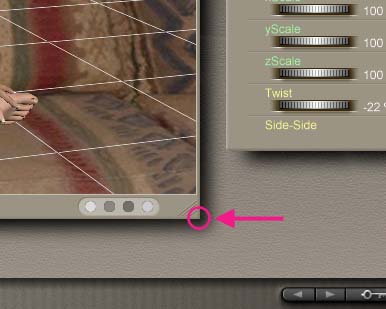
Change the size of your Preview Window to 700x500 by double-clicking on the bottom right corner of the window.
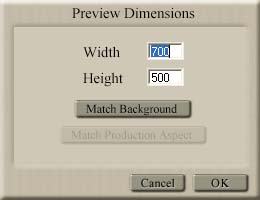
The Preview Dimesions window pops up. Change width to 700 and Height to 500.
Be sure you are on frame number 1. 
Pose your model, dress her up, put on her makeup, play with her hair, fool with the lighting. If you are like me, I like to use photo backgrounds for my work, load in your background. Be sure your background is also 700x500.
When you are happy with your model's pose do a few test renders. Everything ok? How is the lighting? Does she look pretty enough? Good. Now lets set up her Eye Blinks.
4. At this point I've loaded up my model's "Expression Morphs". Again, I'm using Victoria 3. If you are using Poser's girl then her expressions are already available.
Select her Head.
Now close her eyes completely at frame 4.
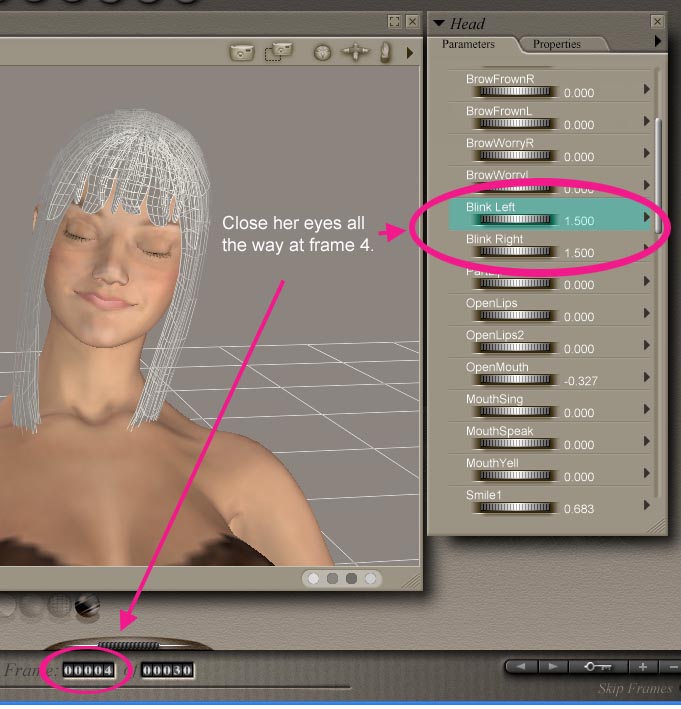
Move the animation slider back and forth to see if she's really blinking.
What we have now, are four frames of animation for Eye Blinks. Kari Scenes always use 4 frames for Eye Blinks.
Lets set up her Mouth Animations.
We will create several keyframes for mouth animations. Here are the intended end results:
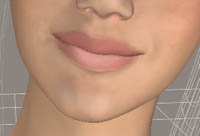 frame 1 - mouth completely closed
 frame 2 - mouth opens a little
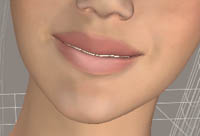
 frame 3 - mouth opens a little more
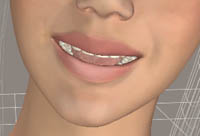 frame 4 - mouth opens wider
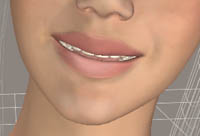
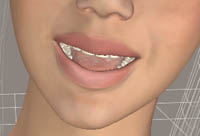 frame 5 - mouth at its widest
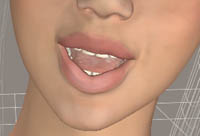 frame 6 - "o" as in "hope"
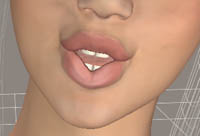 frame 7 - "oo" as in "you" or "racoon" :-P
These mouth positions are needed by Kari to achieve realistic mouth sync. We want to setup frames 1-7 to reflect this.
With her Head still selected find the "Open Mouth" under the parameter dials.
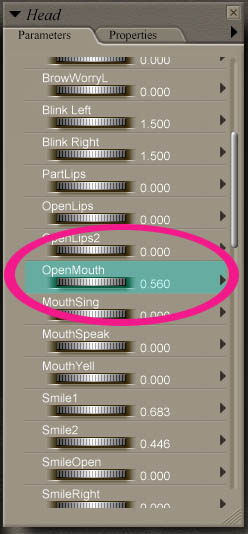
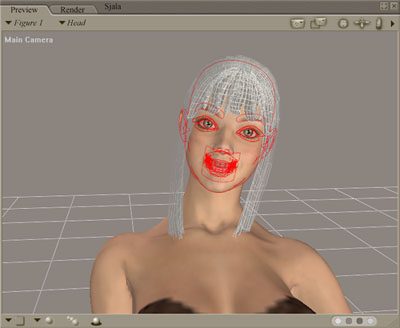
Goto Frame 5 and open her mouth to its widest. This should be the widest that a normal person opens his mouth when he talks. See reference image above for frame 5.
Move the animation slider and we will see that we have a smooth animation between a closed mouth at frame 1 and an open mouth at frame 5.
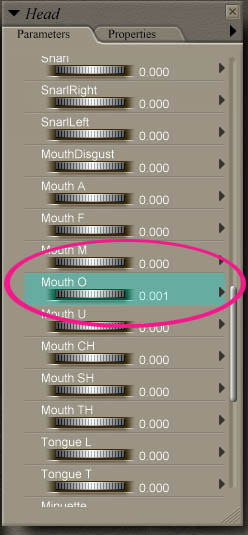
* Still on frame 5, find "Mouth O" in the parameter dials. Set a keyframe for this setting by changing its value to .001 . We will need this keyframe as a placeholder for frames 6 and 7.
For frame 6 we will need an O mouth Like "hope". So go to frame 6 and adjust the parameter dials "Open Mouth" and "Mouth O" until you get a good looking O sound phoneme.
"hope"
For frame 7 adjust the "Open Mouth" and "Mouth O" dials to something like a "you".
Moving the animation slider from frames 1-7 should now show the eyes closing (frames 1-4) and mouth movements (frames 1-7).
Now set your camera for the final pose and get ready to render out your frames.
At this point you are ready to render out the frames. If you want to include an extra animation like a foot wiggle, or an arm motion, please set these up yourself. Just remember to leave the face area by itself. ie: no hands on face
In my case I included an arm animation. She slides her arm across her legs. This is a 15 frame animation. So when I render I would render all 15 frames.
For all intensive purposes lets stick to the 7 Frame Setup. Lets do this now. Set your Render settings to the best possible on your machine and click on Menu>Animation>Make Movie.
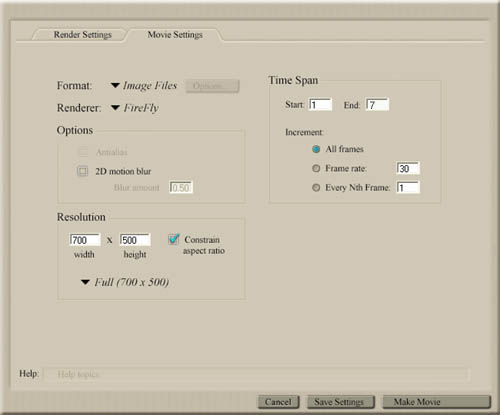
Set the Format to Image Files (I use BMPs), your Renderer, and set your Width and Height to 700x500 (very important).
Also set your frames. In our case 1 - 7. Render them out!
Ok, lets load up the Scene Creator.
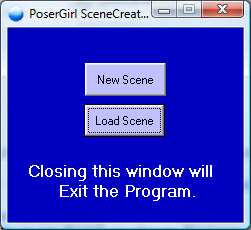
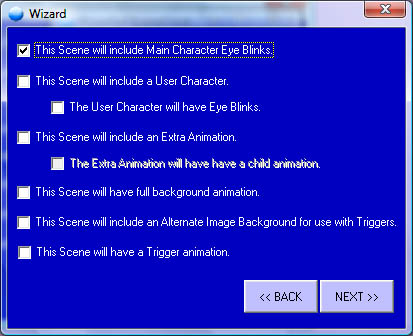
Select new Scene. The Wizard appears. Select the first checkbox. This tells the Scene Creator that Kari will have eye blinks. Our scene has eye blinks remember? Frame 1-4. Click Next.
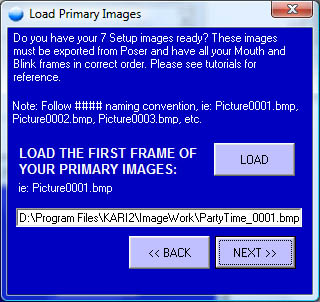
Now load your 7 frames that you rendered out. Click LOAD and load in the FIRST frame. In my case its PartyTime_0001.bmp. Click Next.
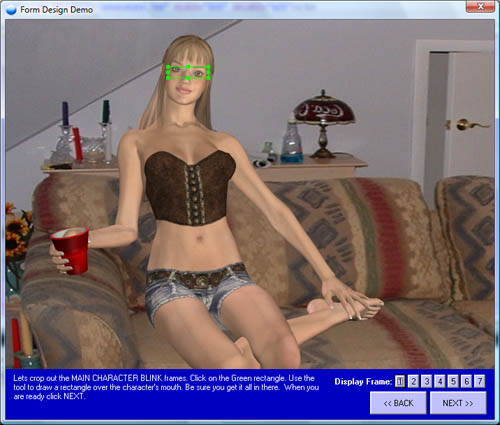
In this section, the Scene Creator is asking you to draw a border around the Mouth so that the program can crop the mouth images from the 7 Frame Setup. So click on the green rectangle, drag it, and size it. Be sure you get around the whole mouth. You can click Display Frames buttons to make flip thru all the 7 frames. When you have a good rectangle around the mouth click Next.

Now lets do the same for the Blink Frames. Click Next.
Now its time to position the mouth images over the background. Drag the mouth image over the background.
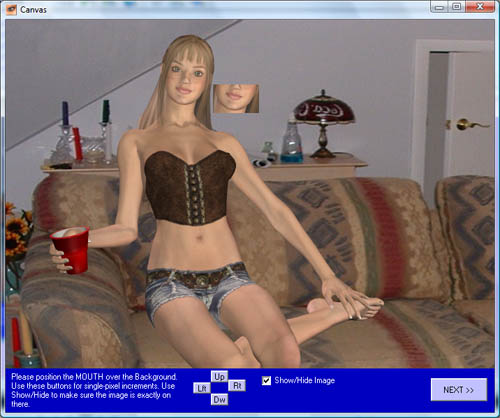
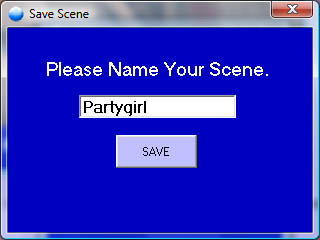
Do the same for the the blink Images. Click on Show/Hide Image so that we get it exactly in there. Use Up/Down/Left/Right buttons for single pixel increments. Click Next. Now Save your Scene.
Now that you understand the 7 Frame Setup you can make much more complex scenes. Try adding a User Character to your scene. The 7 Frame Setup still applies. Just make sure eye blinks are on Frames 1-4 and Mouth motions are on Frames 1-7.
What about extra animations? Same thing! Just make sure the eye blinks and mouth motions are always on the first 7 frames. Then use the wizard to set the extra animation options. The wizard will guide you from step to step.
For more information and more advanced tutorials see the Karigirl Forum.
THE END